Fake Rock Building Tools

People often ask me how I build stuff, (Like I could tell them in one quick sentence). The answer of course takes paragraphs. Maybe even a book… Like everything we all do explaining even the simplest task or processes is not so easy. You can even see perfect examples of this by watching the TV show “Undercover Boss”. The CEO or owner of the company secretly tries to do the jobs of the lower level staff members and often struggles to do them correctly. How we do stuff takes time and practice. Days, weeks & even years if you want to be a lawyer or doctor. But all of us can and do learn and eventually become experts at something. Even multiple somethings. This really is one of life’s greatest adventures and opportunities. Learning, growing, and discovering….

So now having reached the age of 60 I can say I’ve learned lots of things. But one of the primary things is the ability to work with my hands. A pottery and ceramics maker in high school, to photographer, dental tech, sand sculptor and now fake rock contractor. Using my hands has been how I made and make a living. So let’s talk about making rocks.

ROCK MAKER
One of the coolest parts about rock making is that almost all of the tools can fit in your hands. And the structural components to faux or artificial rock construction are just rebar sticks and cement. Things you can easily manage. Even monstrous projects can be built one little “bite” at a time.
THE BEGINNING
But where do I begin? The starting point for all projects is the design. Someone has to put together the plan. How big, small, tall and wide will it be? What will it include? Overhanging rocks to make a waterfall into a pool? A hollow space that creates a swim-in grotto? An above water level Cave? A slide? With faux rock all of these ideas are common. Once the plan is set then execution begins.

This can start with the digging of “footings”. Holes or trenches that will be filled with concrete and rebar to create a foundation upon which the structure will stand. For this I use a shovel and jackhammer sometimes. With my favorite tool for that a 1/2” Milwaukee roto hammer drill. It’s lighter than full size jackhammers but still very powerful and effective.

Sometimes we build our projects over existing structures like a pool with decking all around it. In this case we drill holes into the concrete and then epoxy our rebar into the holes after brushing them out with a sort of large pipe cleaner. For this I use a Bosh hammer drill. We also need to cut the rebar as we build. For this I use a “rebar cutter”. Another tool I can use to cut the rebar is an “Angle grinder”. This power tool is one of the more dangerous tools since the disc on it rotates around 30,000 rpms and can get caught on wires, clothing, or concrete cracks etc, in addition to having the disc explode. So this tool must always be given the respect it deserves.

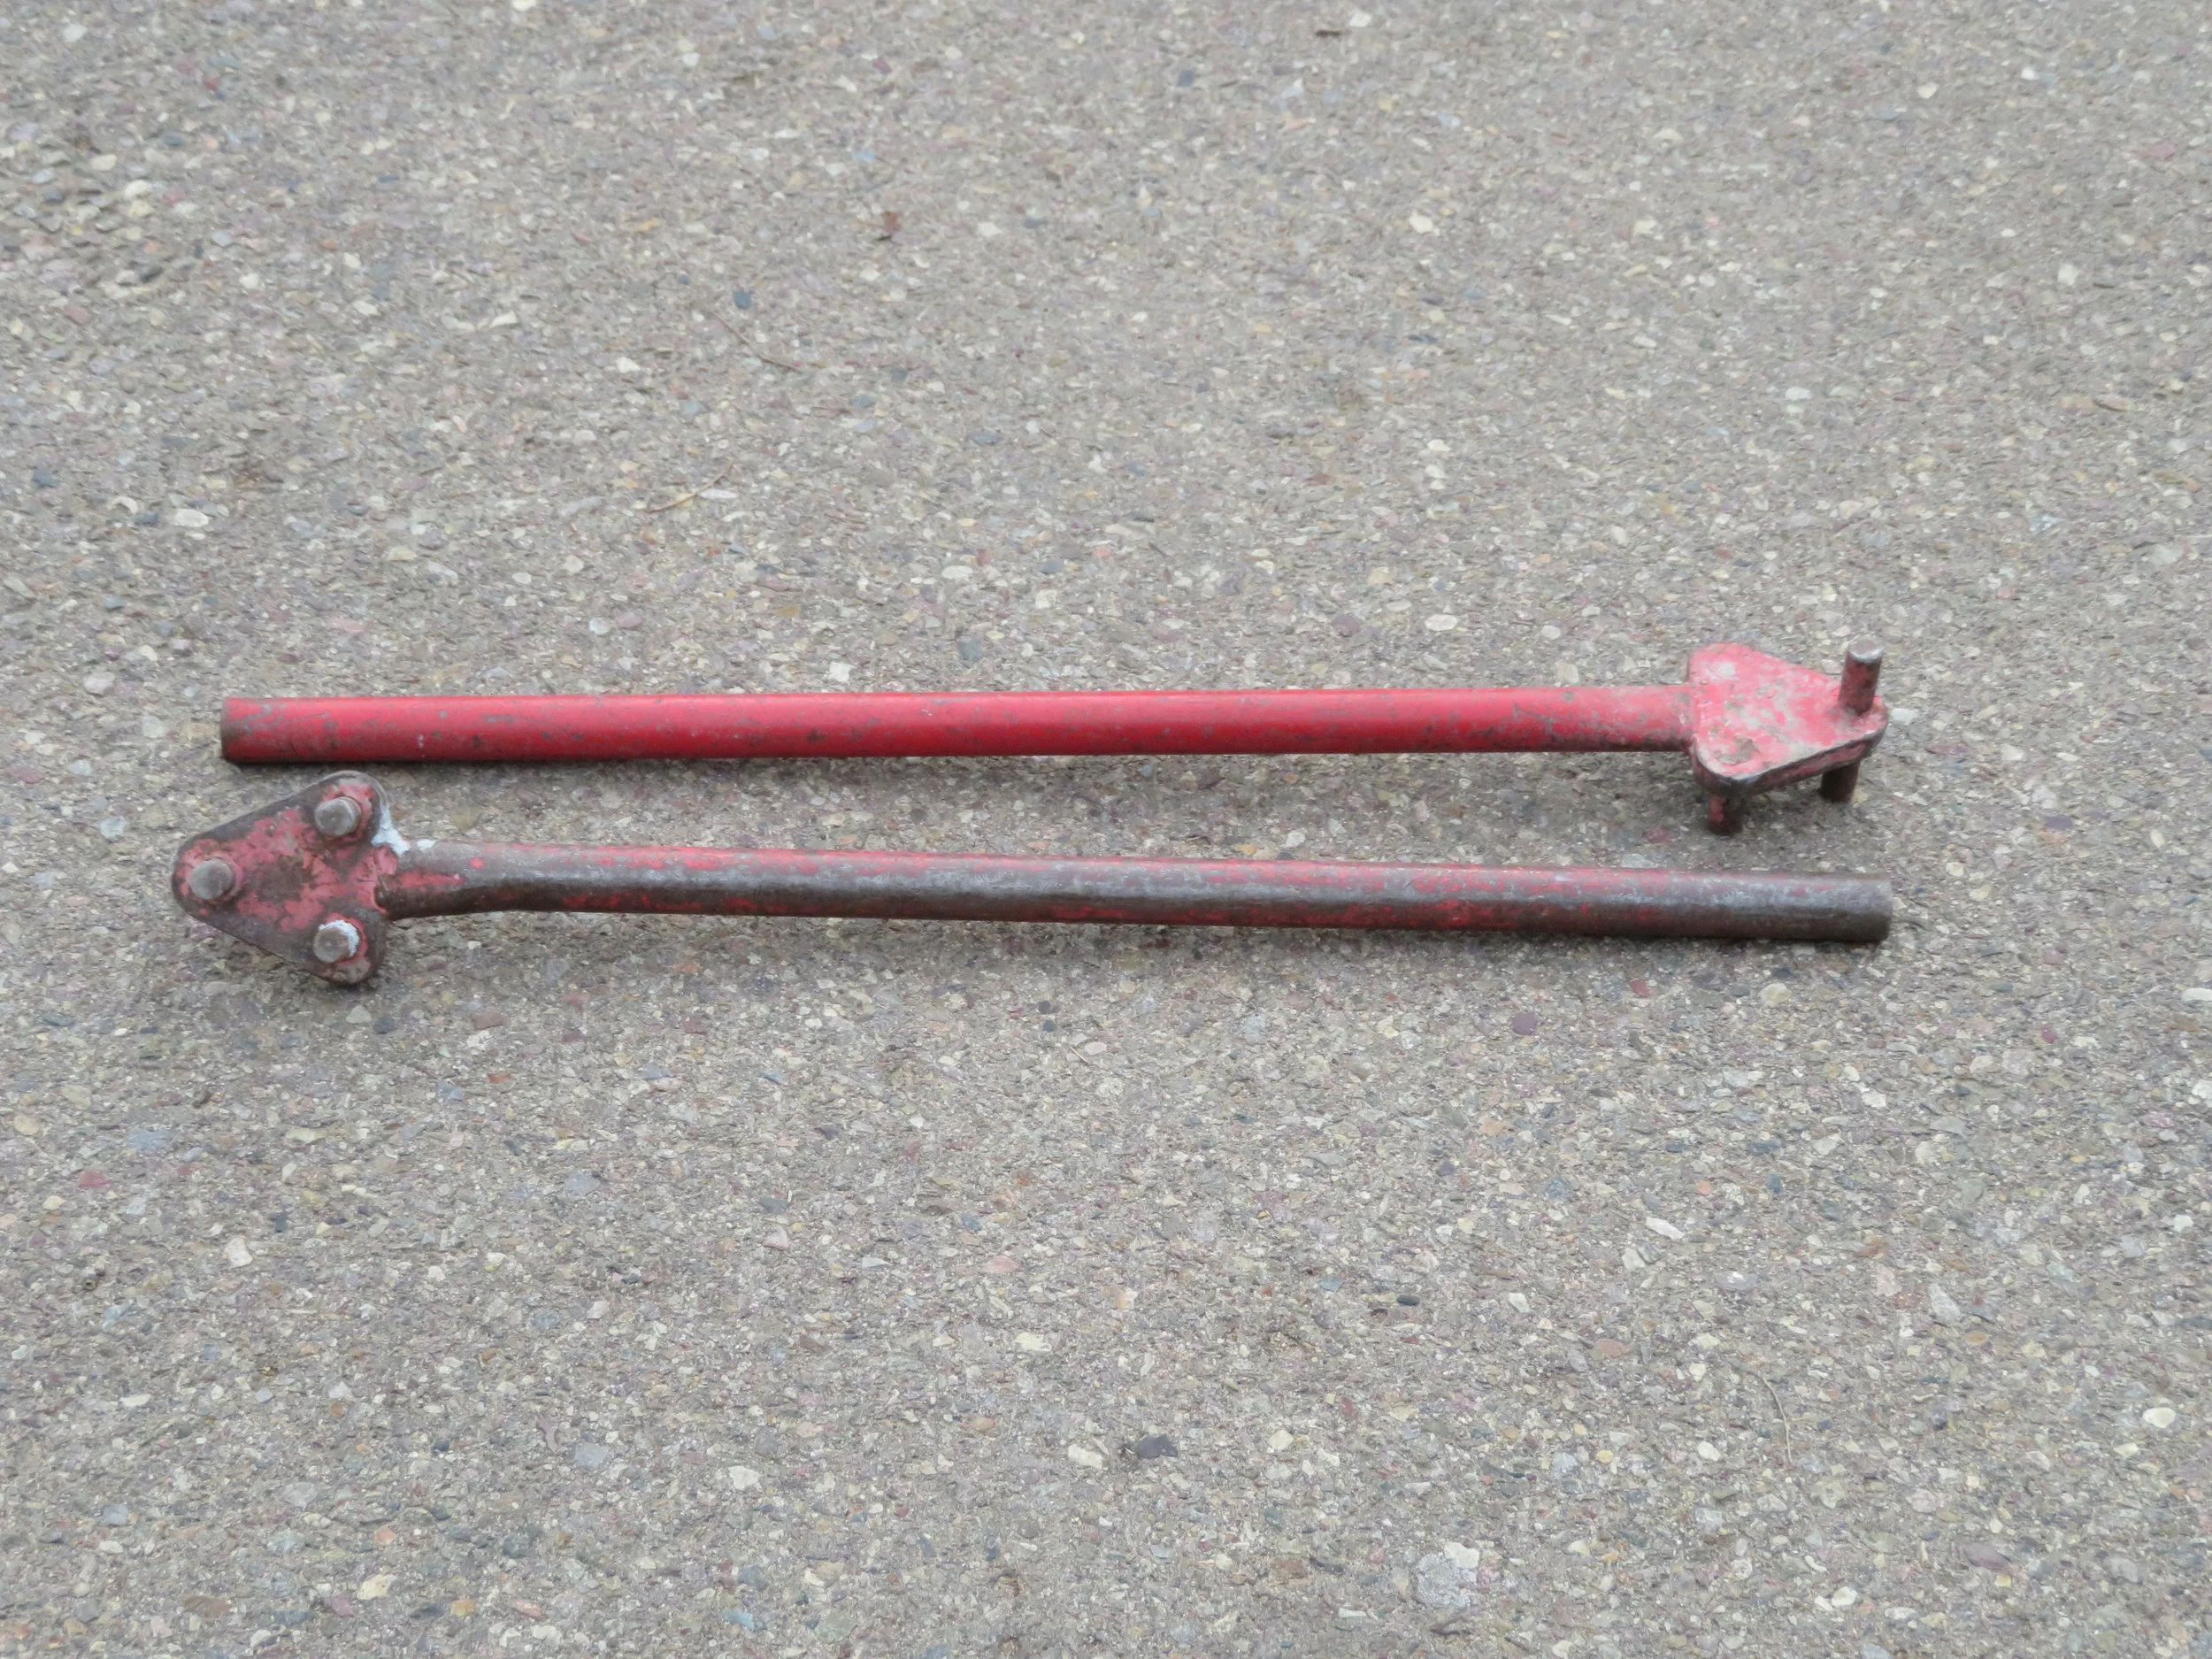
Next come the rebar cutter and “bender bar”. You can make your own or buy them. The other critical rebar tool is the “tie wire spinner”. This is my preferred approach to connecting rebar together. A small 5” wire with loops on each end is wrapped around the joint between rebar sticks and “spun” with the spinner. This secures the steel and creates a strong rock shaped structure that can then be taken to the next step.
Once our rebar has been all shaped up to create the “bubbles” they need to have burlap or diamond lath placed on the inside to stop the concrete from just blowing through. For this I use “hog ring pliers”. These are found in the chain link fencing department at hardware or big box stores. On top of and outside the fake rock bubble shapes goes “chickenwire”. I attach that with hog rings as well.
After your project is ready for concrete, (or shotcrete) the concrete and cement tools come into play. I use a 10” size “Pool Trowel” and “Pointed Margin Trowel”. The pool trowel is rounded on both ends and allows for interior curves carving better than a square trowel would. The pointed trowel I use for cracks and other details.
Another tool is a masonry brushmasonry brushbrush that you can get in the drywall or concrete/masonry department, again at a hardware or big box store. It has long bristles and a handle. This is used to clean off areas of the rockwork after it’s gotten a little bit hard or firm.. It’s also used to create the final surface treatments on the final texture coats.
SPECIALTY TOOLS
One of the goals in making fake rock is to mimic or match the real textures in nature. This can be done with trowels and brushes as I mention above but we also sometimes use “Concrete or “Cement Stamps or Skins” as they’re sometimes are called. A more recent texture tool I heard of are texturing rollers. Both are available at www.walttools.com The stamps are carefully pushed into wet cement with a “release agent” helping to keep the stamp from sticking to the wet or moist cement. The roller simply is rolled over the cement after it’s achieved a level of hardness such that sticking isn’t much of an issue.
Some other items of importance are spool tie wire and pegboard. Tie wire is great at securing things together. The pegboard is used as a backing again to stop the concrete from falling through the rock shapes. The boards are placed behind or opposite the direction of the shotcrete nozzle spray being secured with little concrete square spacers call “dobbies’ placed between the boards and the rebar. The tie wire is used for this.
Tin snips are used to cut the chickenwire and scissors are used for the burlap. Shovels, Wheelbarrows, buckets, and cement mixers round out the basics. Then for spraying cement I use a drywall hopper for small jobs and a Sprayforce stater tube pumper that mixes and sprays 900 lbs at a time for a full load.
As you can see besides my big pumper and concrete trucks and shotcrete crews, there’s not that much involved in making artificial rock projects as far as tools go. And learning how to do this actually did begin by my simply using a five gallon bucket, a wheelbarrow, shovel, and a hand trowel. All the same tools I continue to use to this day.
But like everything else, the HOW they’re used makes all the difference….and that’s a story for another day and another blog.
- Dave
PS: If you’d like to find out more about the “how” just go to the home page on this site and scroll down till you see the FREE PDF link. You’ll find lots of cool stuff there including my new ebooks “Makin’ Rocks” and “All About Concrete Slides!”. In them there’s tons of info on how to design, build and create fake rock projects and slides from start to finish.